Bell-Mouth Spillway Exploration
by Eli
This is an archive of a post from my previous website. It was the most popular post I ever did, and was the 5th ranked result when searching “bell-mouth spillway” on Google, as well as containing some of the first photos you see when doing a Google image search. With that in mind, I am reposting it here so it will live on. Enjoy!
Before I get into this story, let me give you a little background. There is an entire group of people out there (I happen to be one of them) who call themselves “Urban Explorers.” We get a thrill from checking out the hidden-away, man-made structures that most people never get the chance to see. From abandoned buildings, to storm drains, and everything in between, we enjoy finding out more about what is and what once was by exploring the remains of forgotten human accomplishments. Now don’t get us confused with the punks that vandalise abandoned buildings. Sure, what we do might be viewed by some as trespassing, but our purpose is simply one of innocent exploration, and once we leave, we leave with everything the same as when we arrived. Just like in other outdoor sports that I participate in such as hiking, kayaking, or caving, real Urban Explorers try to practice responsible Leave No Trace Ethics. As we say “Take nothing but pictures, leave nothing but footprints, & kill nothing but time.” We do it purely for the exploration and discovery that comes from seeking out such places. With that said, please read on.
I should have posted this some time ago, but I have been pretty overwhelmed with work and not gotten a chance to finish editing the pictures until now. A while back, me and a group of other Urban Explorers ventured into the depths of a bell-mouth spillway. What is a bell-mouth spillway you might ask? It’s a giant concrete structure forming a hole in the ground. Check it out on the good old Wikipedia here:
Bell-Mouth Spillways on Wikipedia
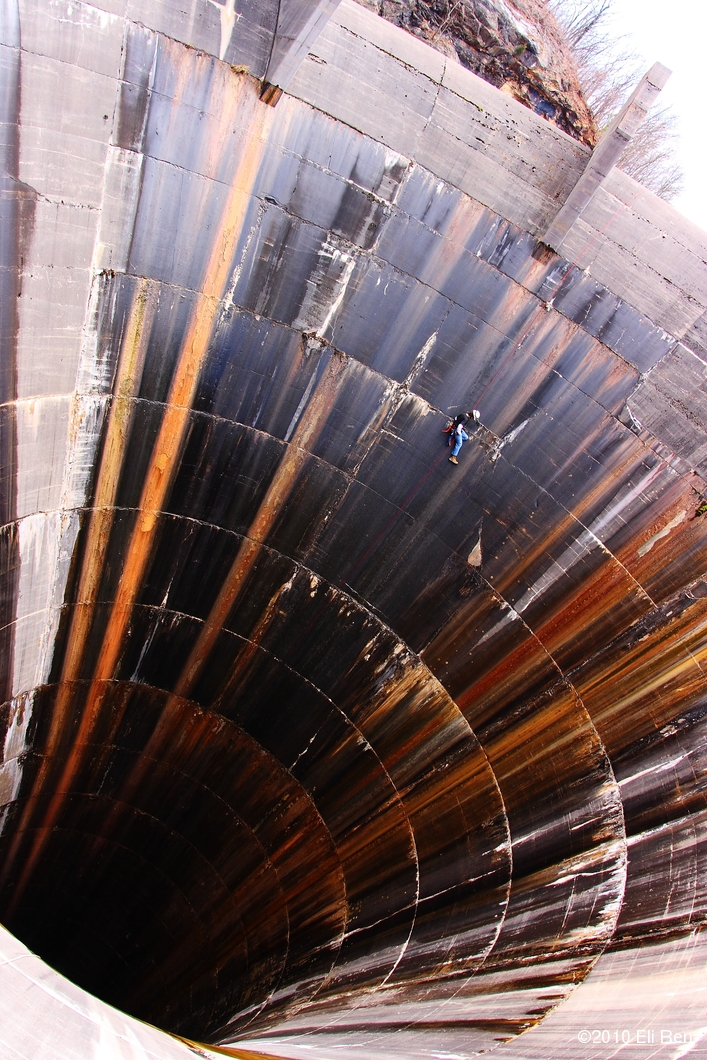
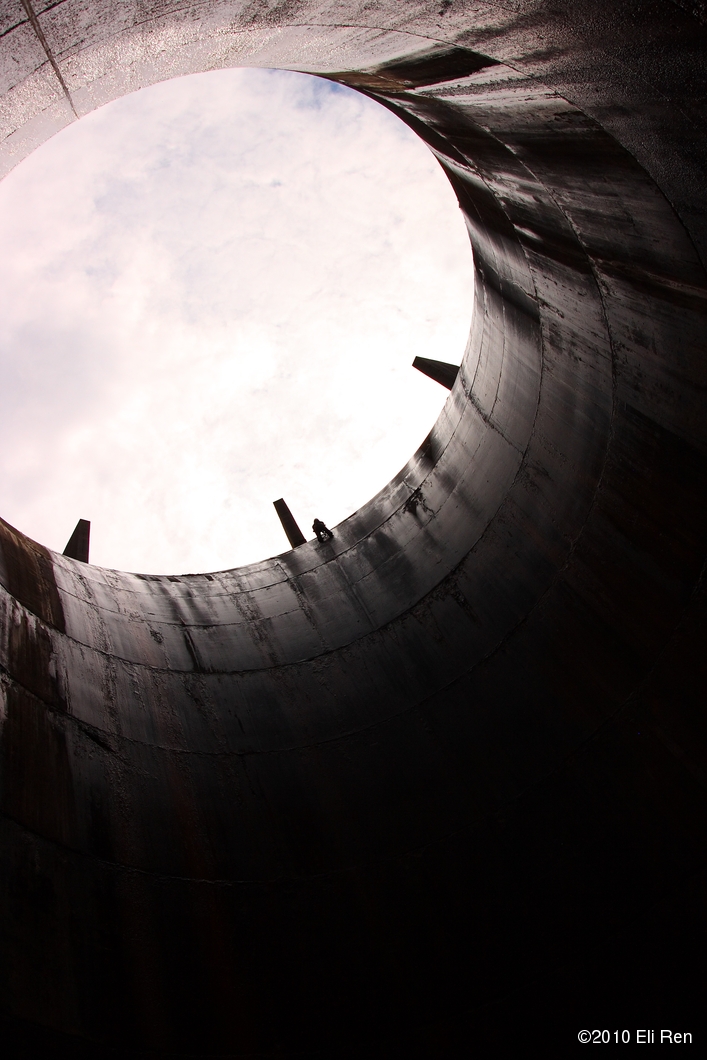
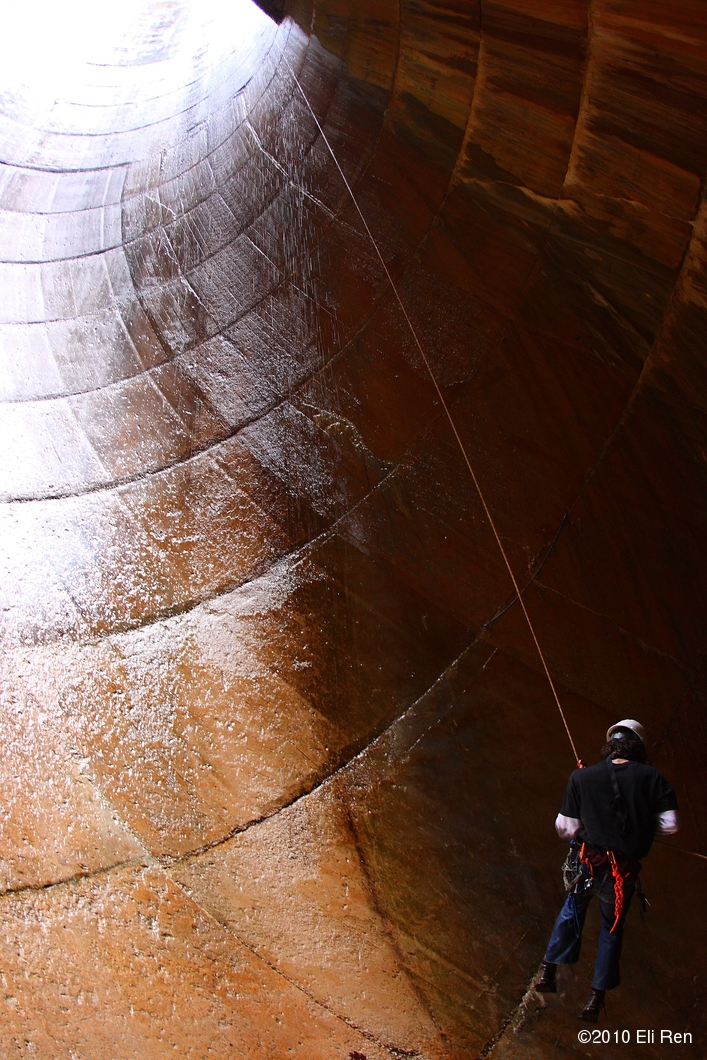
So after meeting up that morning and driving out to the location (and no, I’m not going to tell you where it is), we got all geared up and made our way to the edge of this behemoth. most people just decided to use a boat and paddle into it from the bottom, but three of us with vertical experience decided to rappel into it from the top. After rigging ropes, we got over the lip and started rappelling in from opposite sides. I of course took my camera with me, locking off my rappel rack and taking pictures every 50′ or so. How deep was this thing? Well, my rope is 360′ long and there was only about 30′ of rope at the bottom. After taking into account some rope length for rigging and going over the lip, I would estimate it was right around 300′ deep. Not too shabby. We were clearly not the first people to rappel into this thing… not only were there bolt anchors in both sides of the spillway, but there were also rope grooves worn into the concrete lip just above the bottom. I see these types of grooves pretty often in caves where the rope has widdled its way through the stone, but I think this was my first time seeing them in concrete.
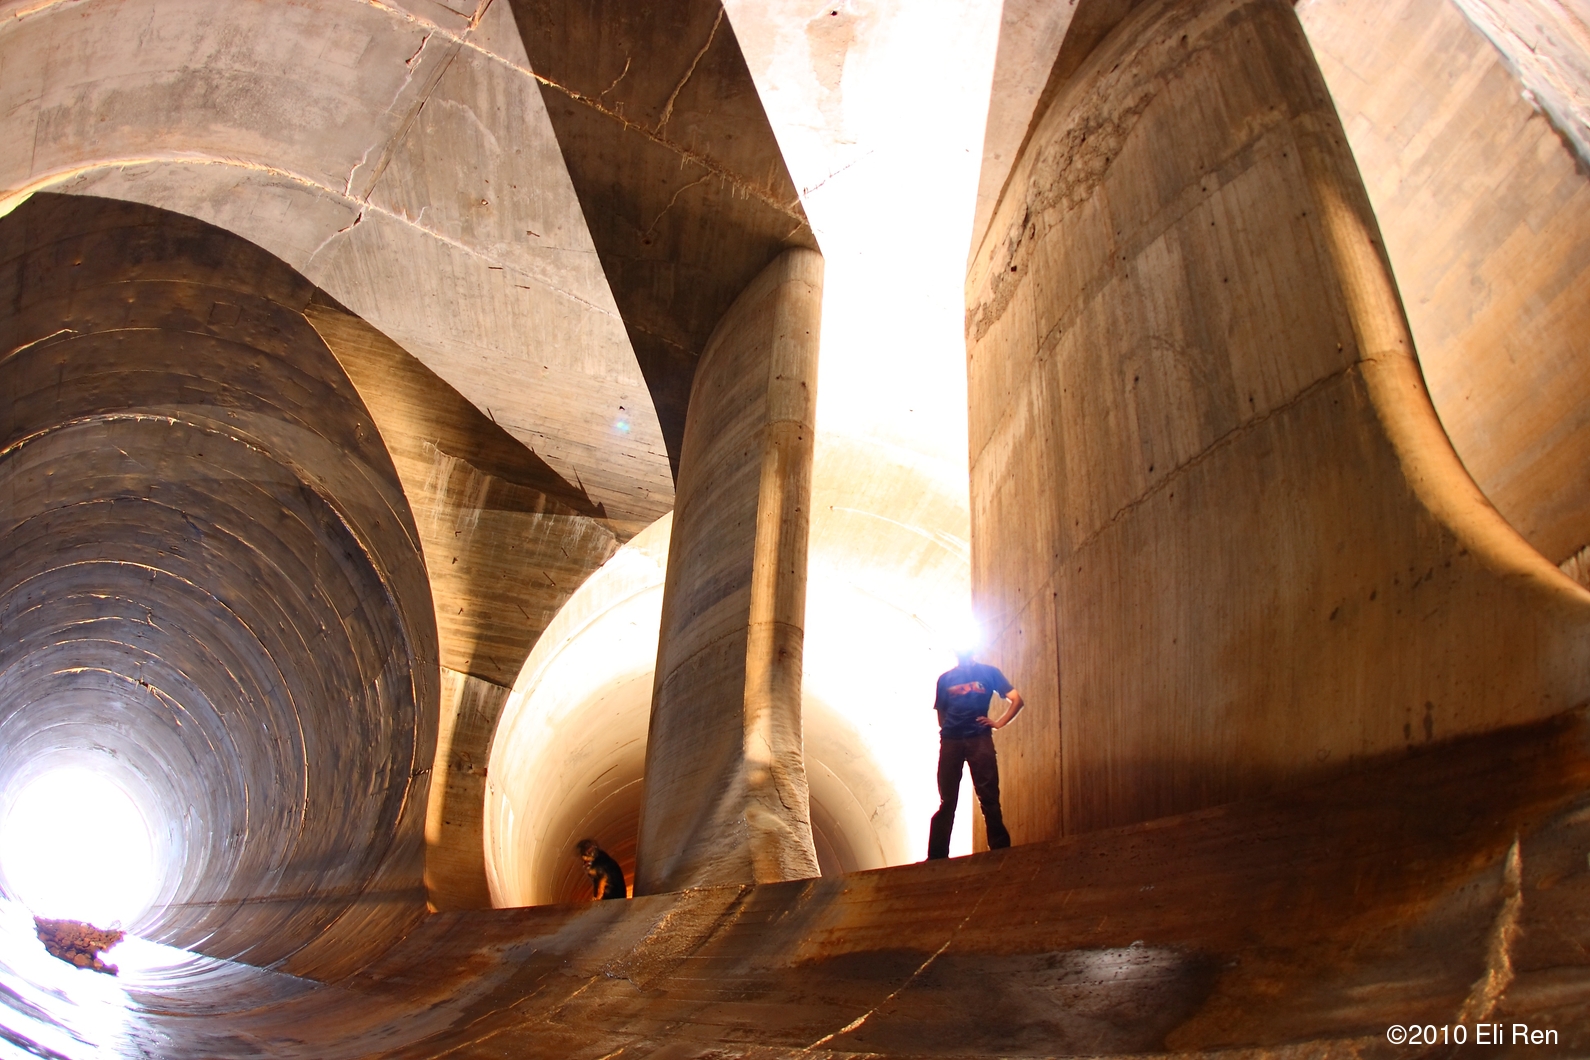
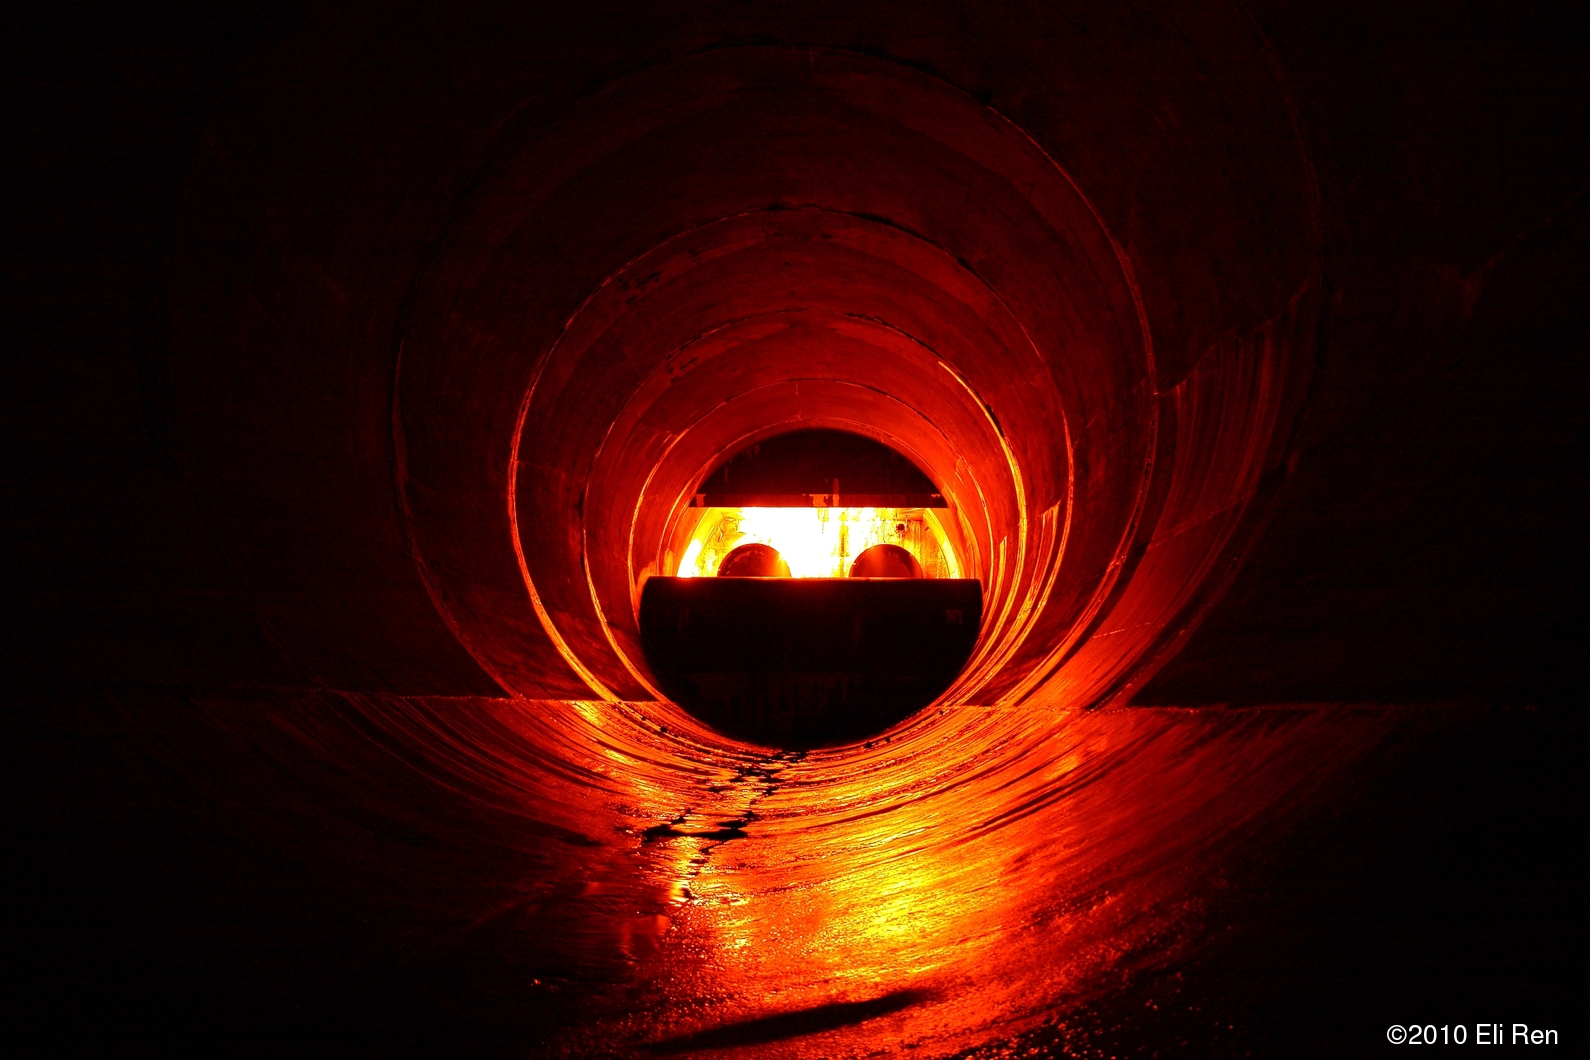
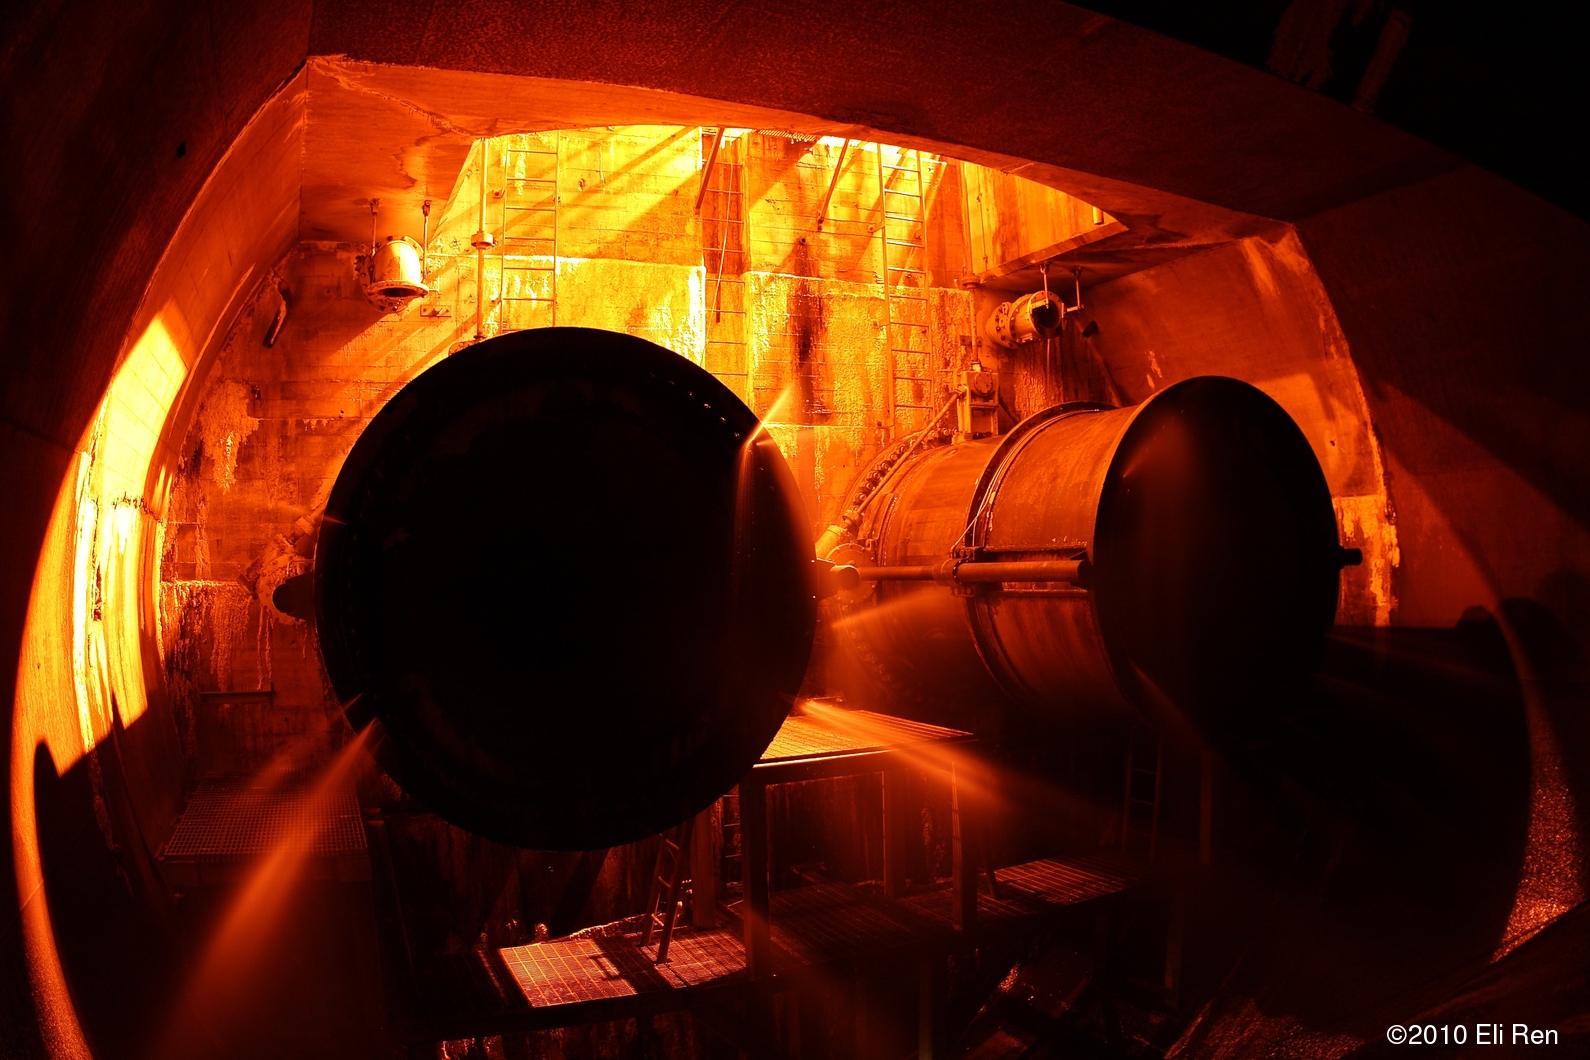
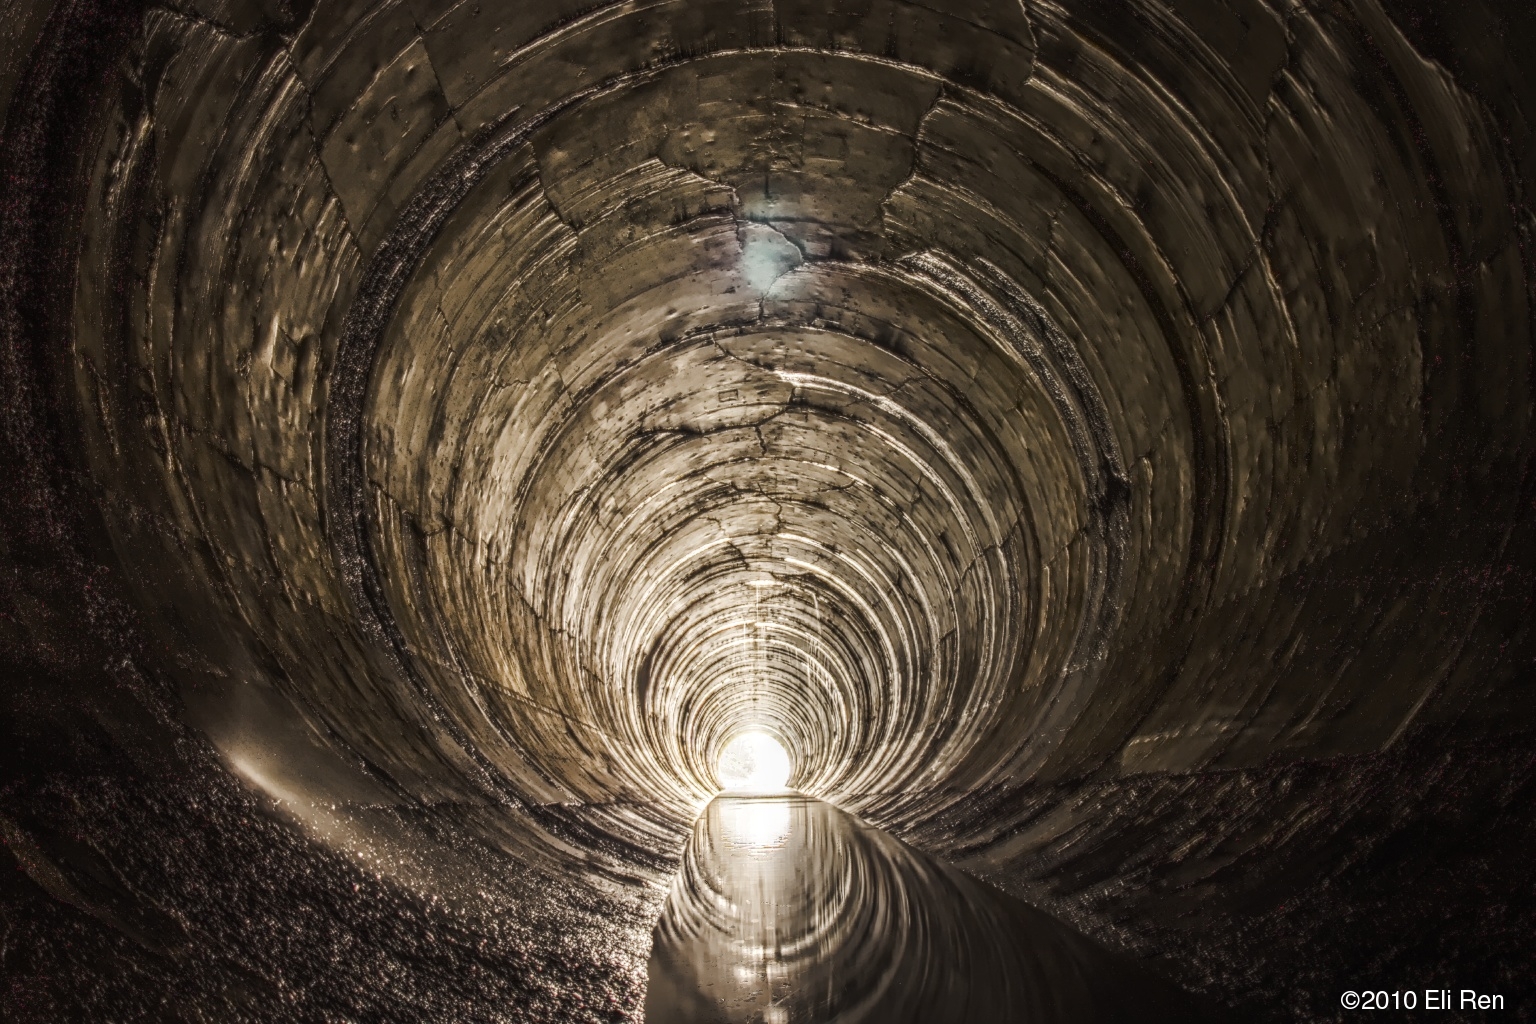
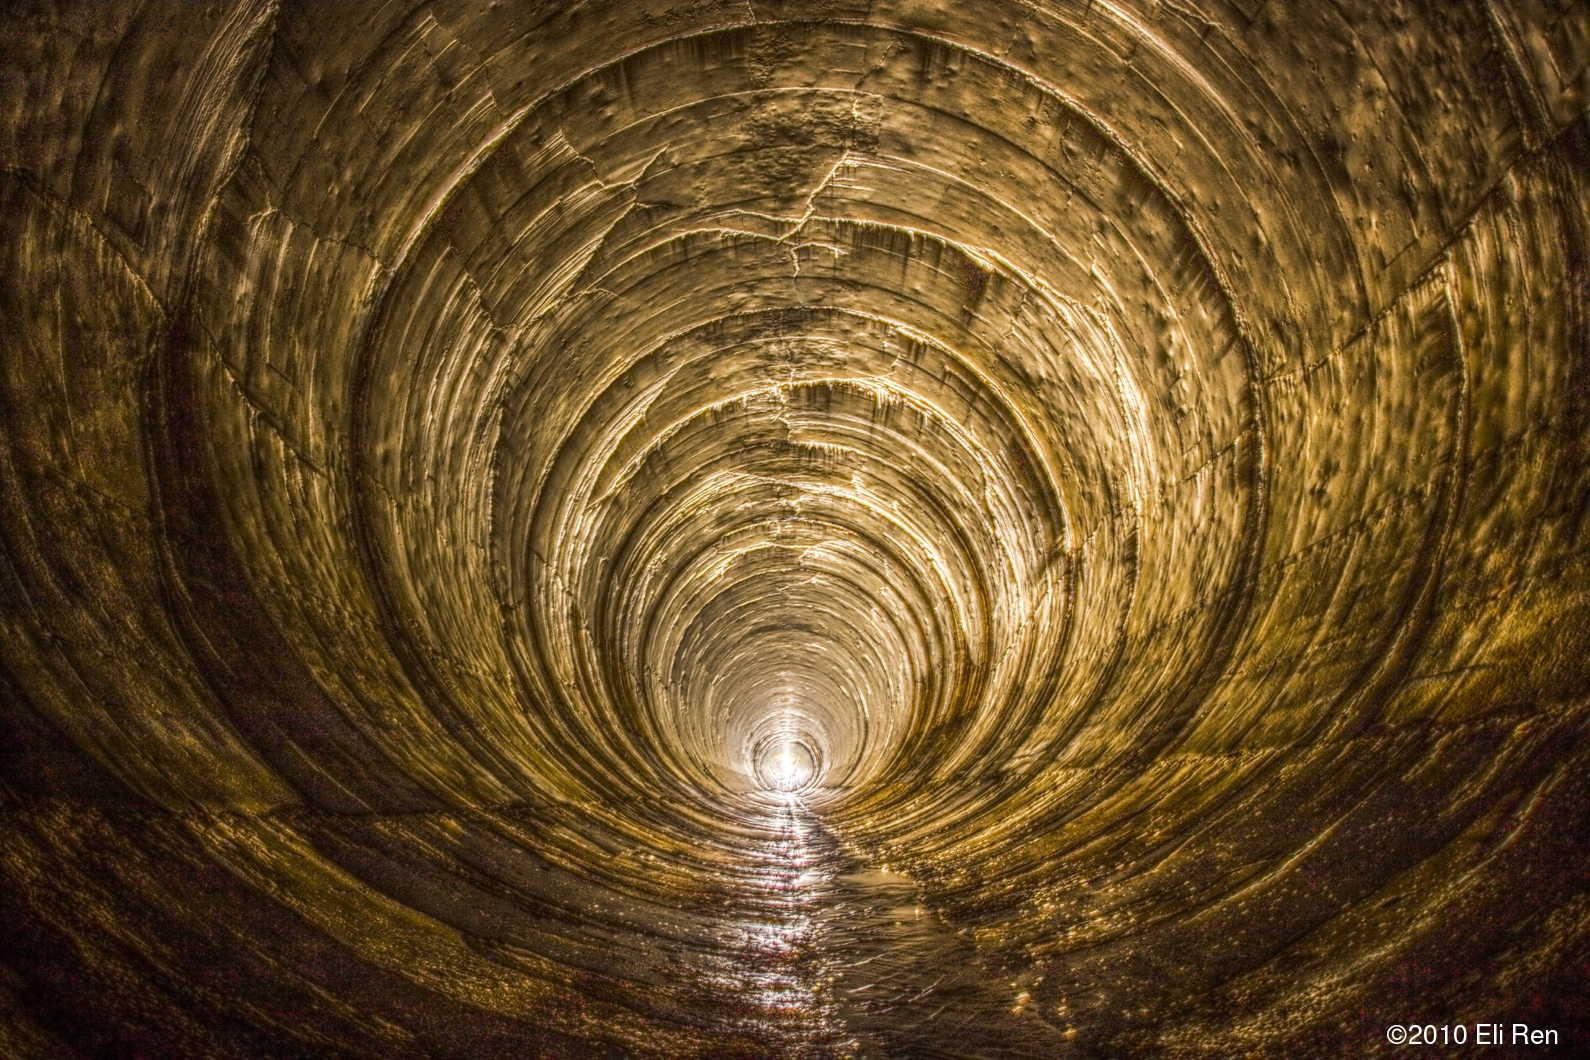
So we get to the bottom, get off rope, and start exploring this huge tunnel in the earth. I would estimate the diameter of the tube at right around 30′ in most places. This thing is seriously huge! Somewhere near the middle of the tunnel, there is a junction where the auxiliary dam release comes in from the side. After taking some pictures at the junction, we head up the junction tunnel about 100′ to where the auxiliary release tubes are. There is a massive 15′ tall concrete barricade between us and the release tubes, so we go about trying to find a way to get over. We agree that using any kind of grappling hook risks damaging something (which would both be against our ethic, and pretty stupid when in front of release valves at the bottom of a 250′ lake), so we set about trying to make some sort of rigid structure to climb over with. We find some metal pipes (they look like hand rails) within the debris in the main tunnel and bring them back to the barricade. After several failed attempts, we put together a Dr. Seuss looking ladder-type-thing, and using my spider-monkey skills, I manage to climb to the top. After getting some rope and vertical gear thrown up to me, we get a few more people up top and take some pictures. The scene is just spooky with water hissing out of the rivets of the release tubes from every angle due to the immense pressure it’s holding back (a quick calculation reveals over eight atmospheres of pressure!).
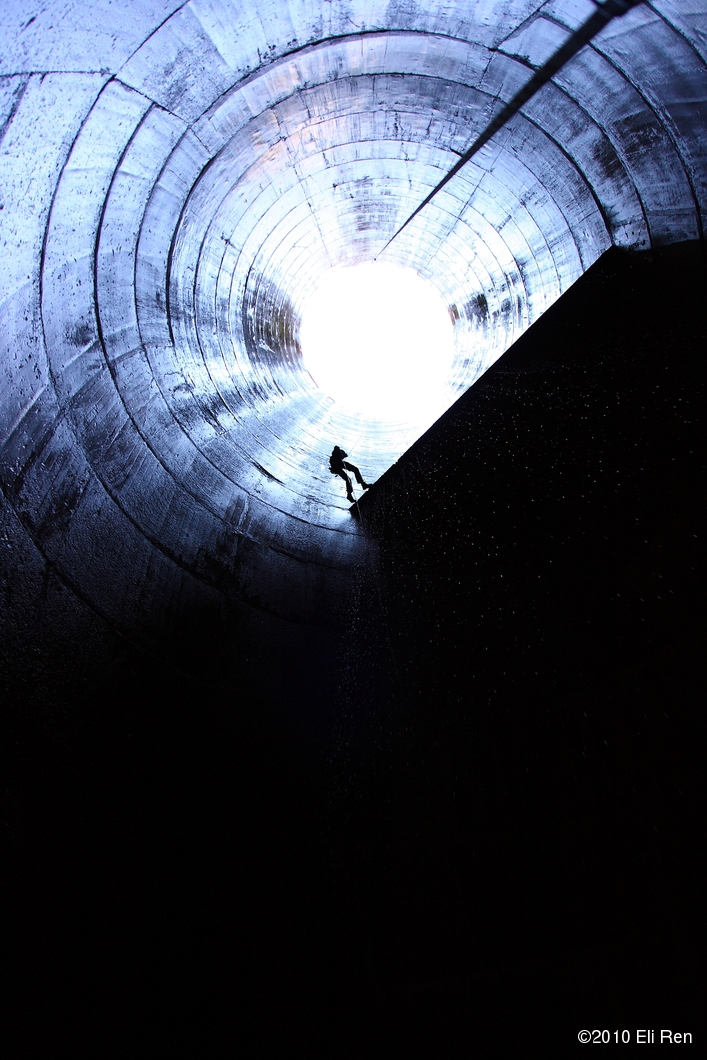
After getting some good pictures near the release tubes, we head back out to the main chamber to facilitate our exit. Before we go, I decide to take some pictures of the tunnel in both directions to later process using HDR (high dynamic range). Everyone else (including my dog Taro) decides to takes the boat out the bottom and walk up to the top. Not wanting to pass up the opportunity to climb a perfectly good rope, I decide to climb back out the way I came in. The drip-line was brutal and by the time I got up the first 80′ or so, I was already soaking wet. Whatever, I don’t believe in misadventure… only adventure :-) After 300′ of rope climbing, I was at the top and ready to de-rig. All in a good day’s work.
Here are some pictures from that day:

Subscribe via RSS